Build workshop · Mockups
Create AI mockups with a point of view: three directions, one design system
Move from a loose brief to distinct visual directions, then turn the strongest direction into editable screens with realistic content and states.
In this guide
The useful starting point
Generate alternatives from a shared brief, compare them against explicit criteria, and rebuild the chosen direction with editable components and real content.
Decide what kind of mockup you need
A mood image explores atmosphere. A screen mockup explores hierarchy and interface detail. An interactive prototype explores behavior. A presentation image places a screen inside a device or scene. Pick the artifact that answers your current question; a convincing image is not evidence that a form works.
1. Create a compact art-direction brief
Use a fictional learning platform called Field Notes. Its audience is busy professionals choosing a short practical workshop. The brand should feel editorial, capable, and welcoming. Gather references you have permission to use, and explain what you like about each: type scale, whitespace, image treatment, or information density. Avoid asking for a direct copy of another brand.
Develop three visual directions for this workshop-selection page. Keep the same content and task across all versions. Direction A: editorial and calm. B: compact and practical. C: expressive and playful. Explain typography, spacing, color roles, imagery, and the tradeoff each direction makes. Do not invent brand claims or testimonials.
2. Compare the design decisions
Keep the headline, workshop names, duration, and price placeholders identical across directions. Otherwise you may choose better copy while thinking you chose a better layout. Compare the designs at the same viewport size and with the same realistic text.
| Criterion | Question |
|---|---|
| Hierarchy | Can someone find the relevant workshop quickly? |
| Character | Does the page feel appropriate to the actual service? |
| Density | Is comparison possible without hiding essential information? |
| Adaptability | Can the direction handle long titles and mobile layouts? |
3. Build the chosen direction as editable design
Use Figma or Penpot when you need components, variables, and reusable layouts. If an image generator helped explore composition, treat that image as a reference. Recreate important text and controls as real design elements. Figma’s current remote MCP can create native canvas content; Google’s Stitch also offers an AI design canvas and prototyping workflow. Choose based on your team’s review and handoff needs.
Apply direction B to an editable workshop page. Use the approved text and existing components. Include long-title, sold-out, empty-results, and mobile states. Keep essential text editable. List any parts that remain image-only or simulated.
4. Refine through contrast
Keep an earlier version beside the revision. Change one significant variable, such as card density or title scale, then compare. Ask the assistant to explain what improved and what became harder. Discard variants that only add decoration without supporting the task.
5. Deliver a usable package
Include the selected direction, the rejected alternatives with short reasons, component rules, responsive examples, and the next behavior to test. For device mockups or promotional scenes, label simulated screens clearly. Do not let the presentation image imply a shipped feature that does not exist.
Practice next with the Blender product-visual workshop or turn the selected direction into a prototype.
Sources and further reading
- Figma: write to canvas and current limitations
- Google Labs: Stitch design canvas, March 18, 2026
- W3C: evaluating web accessibility
Sources checked November 4, 2026. Review the linked publisher information for current details.
Put one idea to work
Take the next step with a practical worksheet, a clear research question, and a standard you can use to review the work.
Explore design worksheets →Explore more from UX Design CoachGet design practice in your inbox →Keep practicing
 Build & prototype · Working with agents
From design brief to reviewable prototype: inference and the agent harness
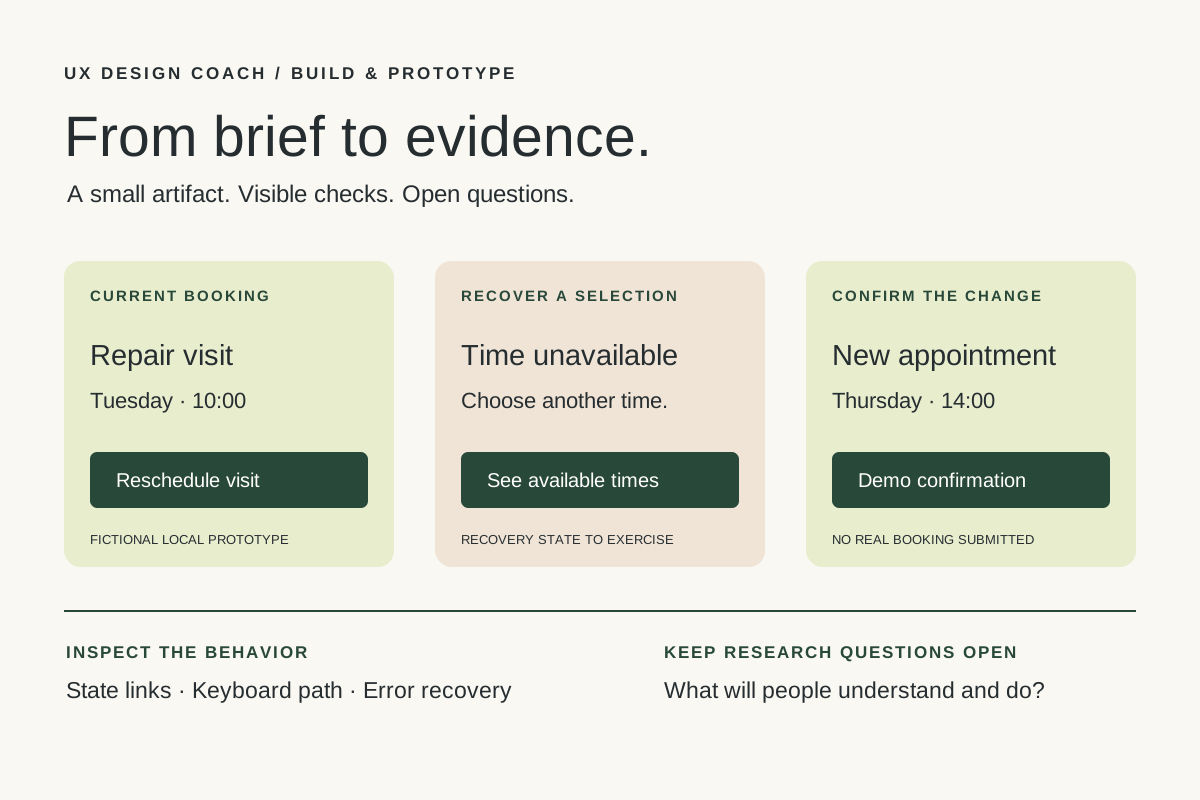
Use a bounded prototype exercise to understand inference, agent harnesses, tool checks, and the human research still needed. Includes a copyable design task card.
November 5, 2026 · 7 min read Tool workshop · Figma MCP
Figma MCP: turn your design system into a working AI partner
Connect Figma to an AI assistant, inspect a real frame, create a controlled variation, and check the handoff. Includes setup, prompts, and a troubleshooting checklist.
November 4, 2026 · 3 min read