Tool workshop · Figma Make
Figma Make: build a prototype that survives the second click
A practical workshop for turning a design into a testable booking flow, including errors, back navigation, and a clear prototype boundary.
In this guide
The useful starting point
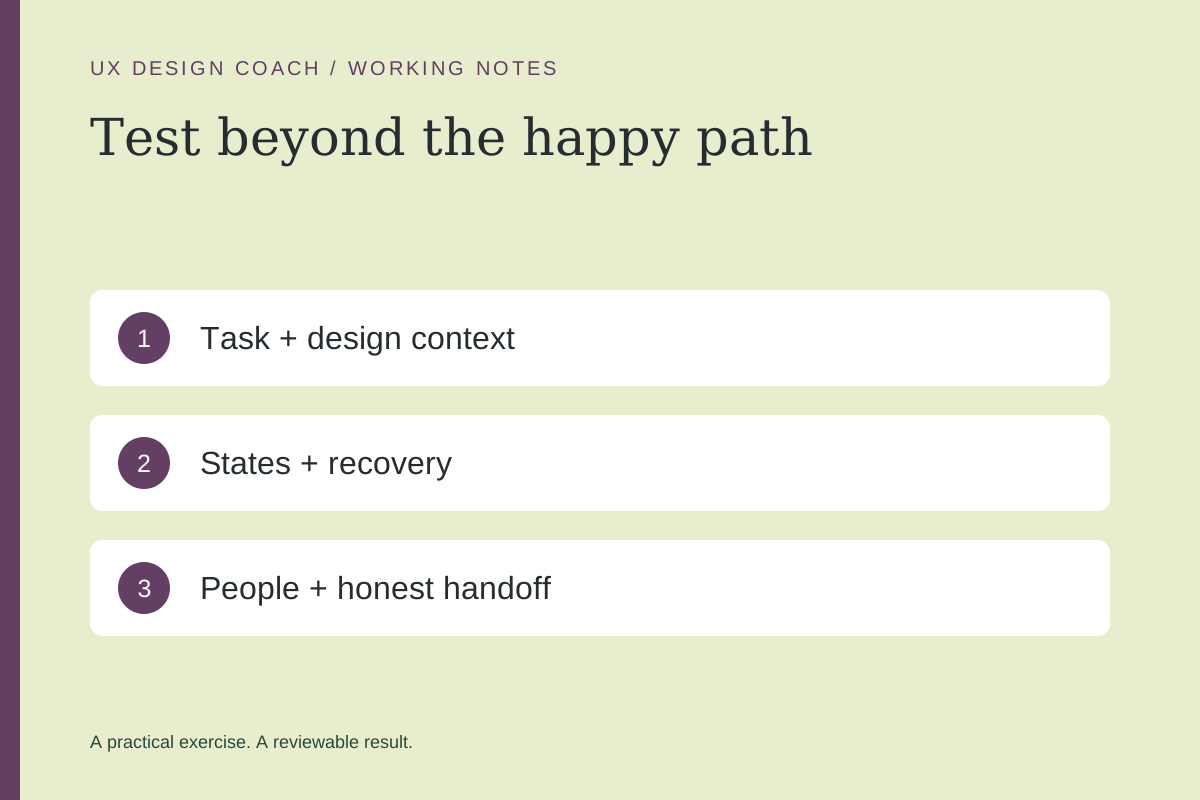
Give Figma Make a specific task, relevant design context, and a state list. Test the full interaction before refining the visual treatment.
Begin with the decision you need to make
Suppose your team is deciding whether people can choose the right introductory appointment without assistance. Build enough of that flow to study the choice. Adding a dashboard, billing area, and profile editor creates more surface area without answering the question.
Figma describes Make as a prompt-to-app tool. It can use attached designs and other context to generate an interactive prototype or web app. Structured frames can provide more context than screenshots. Access and available features depend on your current account; use the official creation guide linked below.
1. Write the prototype brief
State the audience, task, entry point, success condition, and exclusions. For our fictional studio: a first-time visitor compares two appointments, chooses a date, enters contact details, and reaches an explicitly simulated confirmation. Use sample data and label the experience as a prototype.
Create a test prototype for a fictional design studio. Task: choose a suitable introductory appointment. Include two appointment options, date selection, contact details, and a simulated confirmation. Use these attached frames as visual context. Add unavailable-date, invalid-email, loading, and failed-submit states. No real booking, payment, or outbound email.
2. Review the first version for behavior
Walk through the task without reading the prompt again. Can you tell which appointment suits you? Can you move back without losing the date? Does a failed submit preserve the email? Write these observations before asking for refinements; otherwise the conversation can become a stream of unrelated visual requests.
| Try this | Expected behavior |
|---|---|
| Choose an unavailable date | Explain availability and offer a useful next choice. |
| Enter a malformed email | Identify the field and preserve other entries. |
| Go back from confirmation | Make the current state understandable without implying another booking. |
| Use a narrow viewport | Keep labels, actions, and recovery visible. |
3. Revise a specific element
Use a targeted edit or an annotation where supported rather than asking to “make it better.” Explain the observed problem, the intended behavior, and what should remain consistent.
On the contact-details step, the validation message appears far below the email field. Place the explanation next to that field, preserve entered values, and make the next action clear. Keep the appointment selection and visual system unchanged.
4. Run a short learning session
Ask a relevant participant to choose an appointment that fits a stated need. Avoid mentioning the button label. Observe decisions and recovery, then ask what they expected. Record findings with the prototype version; do not turn a rehearsal with an AI assistant into participant evidence.
5. Hand off the difference between simulated and real
List which behaviors use sample data and which require a production service. A working-looking form does not establish booking persistence, delivery, authorization, or error handling in a deployed application. Give the next builder a state inventory and acceptance checks, not just a preview URL.
Continue with the one-workflow product guide when you are ready to make the prototype real.
Sources and further reading
Sources checked November 4, 2026. Review the linked publisher information for current details.
Put one idea to work
Take the next step with a practical worksheet, a clear research question, and a standard you can use to review the work.
Explore design worksheets →Explore more from UX Design CoachGet design practice in your inbox →Keep practicing
 Build & prototype · Working with agents
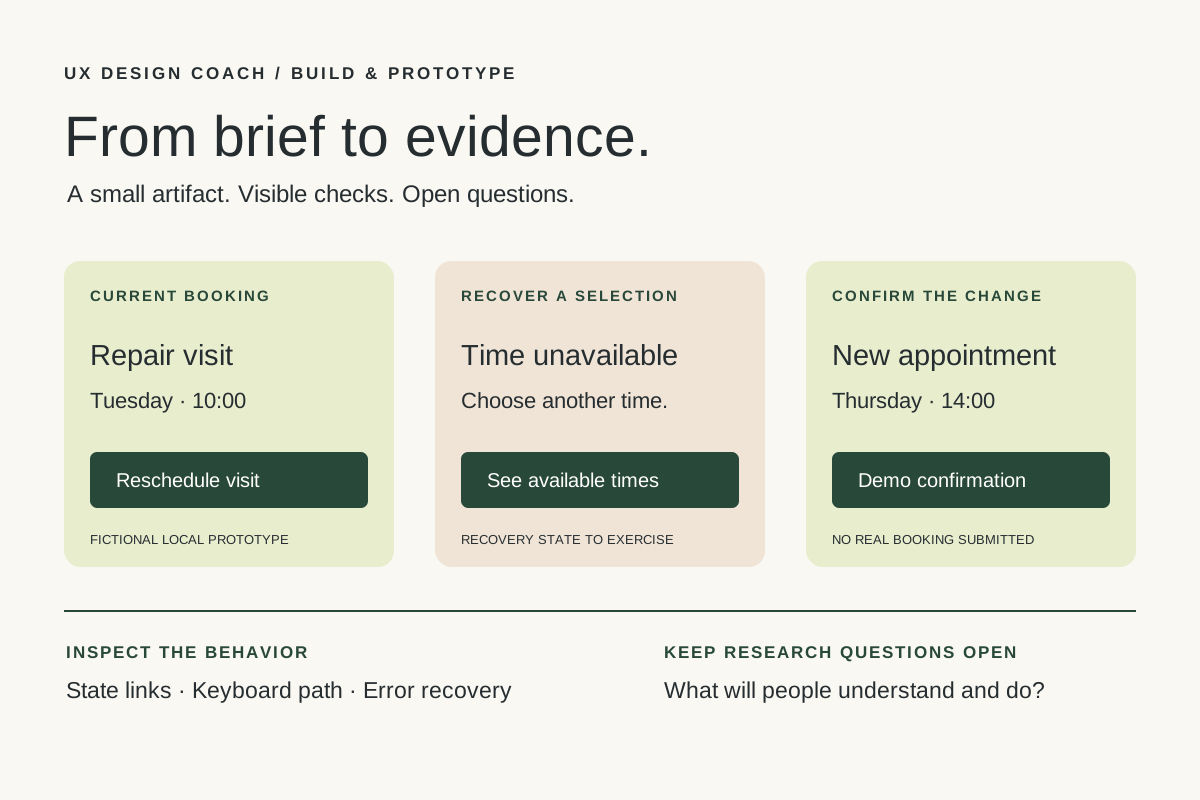
From design brief to reviewable prototype: inference and the agent harness
Use a bounded prototype exercise to understand inference, agent harnesses, tool checks, and the human research still needed. Includes a copyable design task card.
November 5, 2026 · 7 min read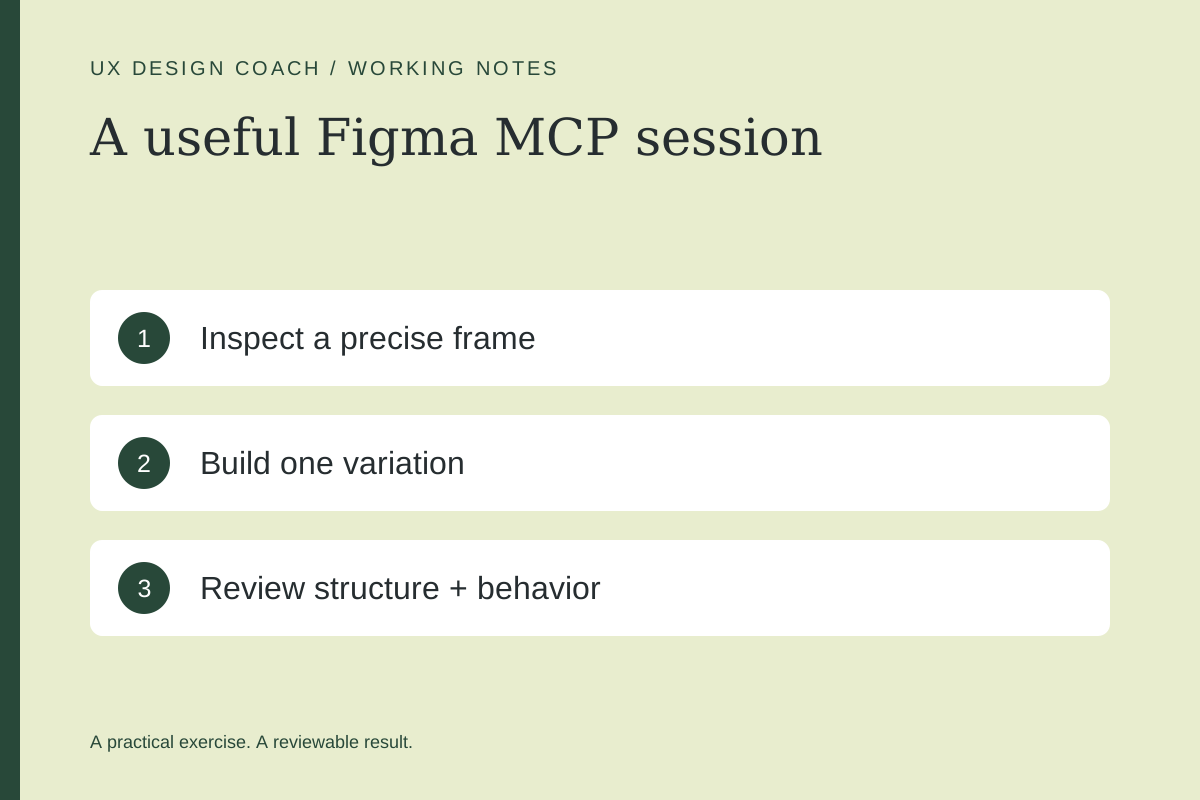 Tool workshop · Figma MCP
Figma MCP: turn your design system into a working AI partner
Connect Figma to an AI assistant, inspect a real frame, create a controlled variation, and check the handoff. Includes setup, prompts, and a troubleshooting checklist.
November 4, 2026 · 3 min read