Tool workshop · Blender MCP
Blender MCP for designers: build a product scene you can actually art-direct
Create a simple 3D product scene through an AI assistant, then refine the camera, lighting, materials, and export for a landing page.
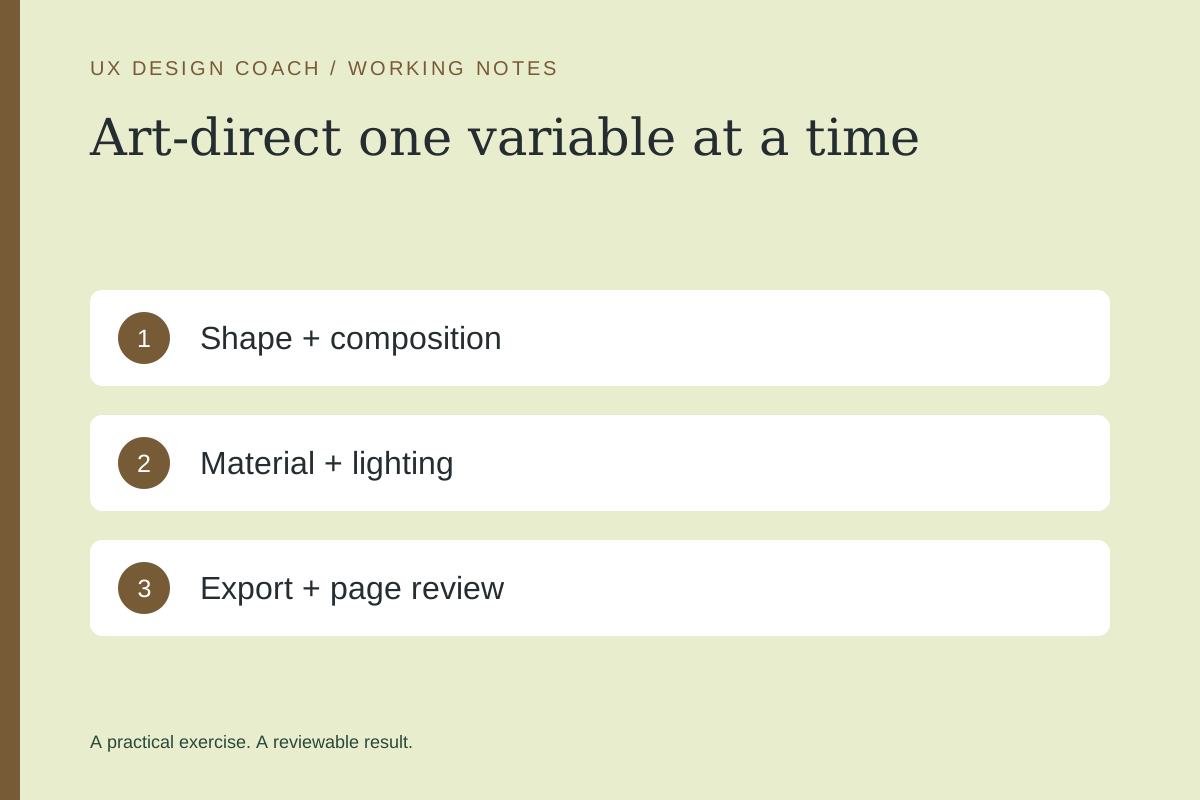
In this guide
The useful starting point
Use the community MCP for Blender project on a practice scene, start with simple geometry, and change camera, material, and lighting one at a time.
Give the image a job
A 3D visual earns its place when it explains a product, makes a spatial relationship clearer, or establishes a useful visual direction. For this workshop, create a fictional desk lamp for a landing-page hero. The goal is a readable silhouette with room for a headline, not a complex manufacturing model.
Connect the community integration
The project formerly linked as blender-mcp now redirects to MCP for Blender. It is a community project, not an official Blender Foundation integration. Its current instructions list Blender 3.0+, Python 3.10+, and uv. Review the project before installation.
uvx mcp-for-blender install-addonEnable Interface: MCP for Blender in Blender’s add-ons preferences. Configure your MCP client using the project’s instructions; for Claude Code the documented command is:
claude mcp add blender uvx mcp-for-blenderCheck the MCP for Blender panel in the viewport and start its server if needed. Keep the connection local. The integration can execute Python; the project offers BLENDER_MCP_SAFE_MODE=1 for script checks. Save a separate practice file before making changes.
1. Block the composition with simple shapes
Inspect the current practice scene first. Build a fictional desk-lamp concept from simple geometry on a separate collection called Lamp study. Use a circular base, a narrow stem, and a broad shade. Place the lamp on the right half of a wide composition and leave clear space on the left for a headline. Do not download external assets.
Look at the silhouette in a small thumbnail. If the lamp becomes a blob, adjust proportions before adding detail. Keep object names meaningful so later prompts can target the shade or base precisely.
2. Make three deliberate material studies
Try matte ceramic, brushed metal, and colored plastic while keeping the camera and lighting fixed. Label the results A, B, and C. Decide which best supports the brand brief: calm, precise, or playful. Treat these as art-direction choices, not predictions about conversion.
Keep geometry, framing, and lights unchanged. Create a matte warm-white material version of the lamp. Preserve readable separation between shade and background. Report the material settings changed.
3. Tune lighting and framing
Change one variable at a time. Move the key light to clarify the form; add a restrained fill if important edges disappear. Check whether highlights distract from the headline area. Save the scene before every major iteration so you can compare, not just keep prompting until the original intention is lost.
4. Prepare the asset for the page
- Export a still at the aspect ratio the page actually needs.
- Inspect the crop at narrow mobile widths.
- Keep essential interface text in HTML, outside the image.
- Write alt text describing the useful content, or mark a purely decorative image appropriately.
- Check file weight and visual quality after compression.
Your handoff: the editable scene, the selected render, material-study comparisons, crop guidance, and a note that this is a fictional product visualization. Next, use the AI landing-page workshop to put the visual in context.
Sources and further reading
Sources checked November 4, 2026. Review the linked publisher information for current details.
Put one idea to work
Take the next step with a practical worksheet, a clear research question, and a standard you can use to review the work.
Explore design worksheets →Explore more from UX Design CoachGet design practice in your inbox →Keep practicing
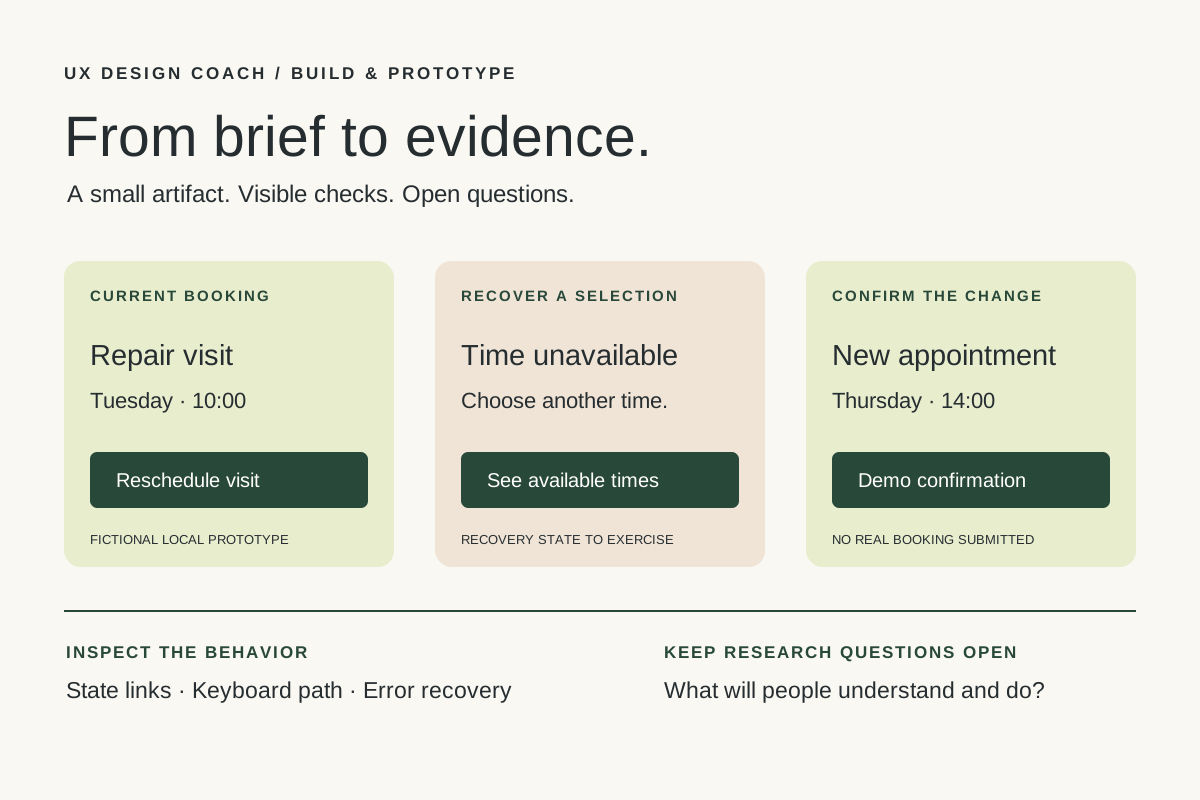 Build & prototype · Working with agents
From design brief to reviewable prototype: inference and the agent harness
Use a bounded prototype exercise to understand inference, agent harnesses, tool checks, and the human research still needed. Includes a copyable design task card.
November 5, 2026 · 7 min read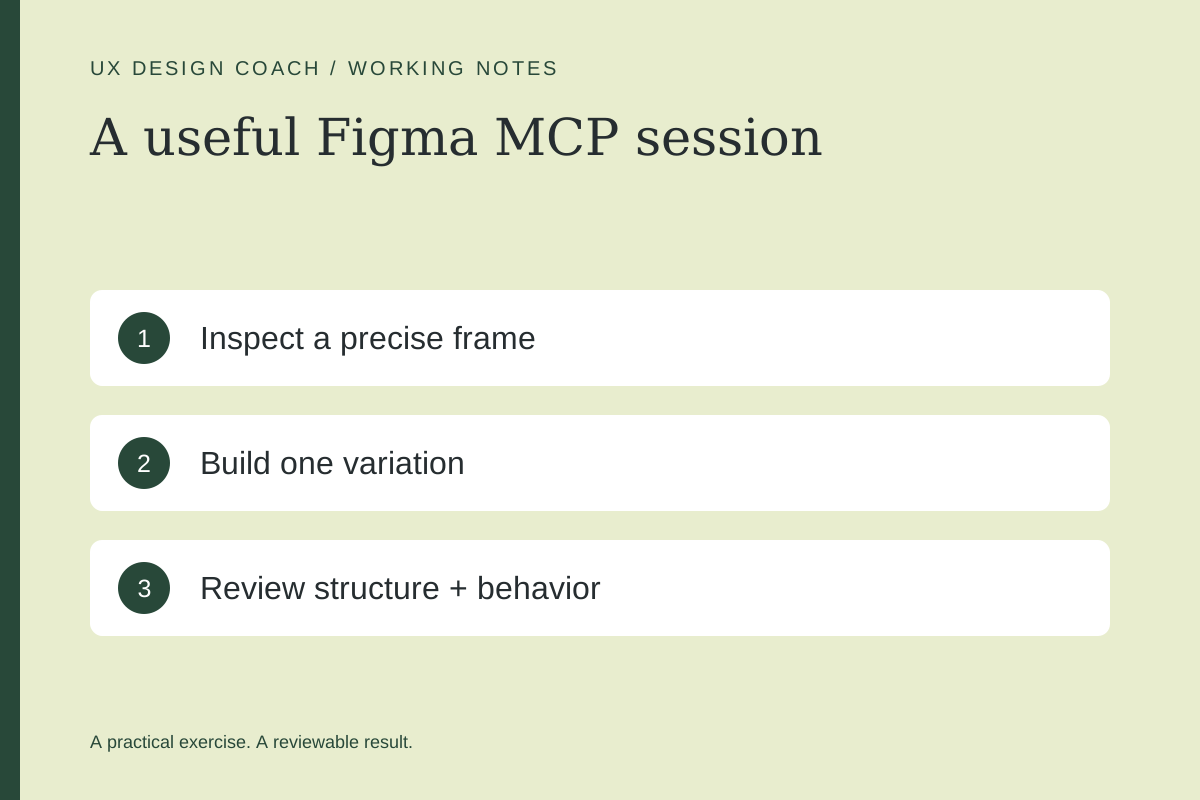 Tool workshop · Figma MCP
Figma MCP: turn your design system into a working AI partner
Connect Figma to an AI assistant, inspect a real frame, create a controlled variation, and check the handoff. Includes setup, prompts, and a troubleshooting checklist.
November 4, 2026 · 3 min read